Controlling User Access to the Status Field for Custom Transactions
This topic describes how to use custom forms and role permissions to control which users can view or edit the Status field on transaction instances. For an overview of displaying or hiding the Status field, see Displaying or Hiding the Status Field for a Custom Transaction Type.
If you have configured a transaction type so that the Status field is visible, you may want to restrict access to the field for certain roles. For example, you may prefer that, for some users, the field is either hidden or read-only. To create these restrictions, use the following procedure.
To refine the availability of the status field:
-
Create a custom form, and modify the settings for the Status field:
-
Create the form by opening the transaction type and clicking the Forms subtab. Locate the standard entry form for the type and click Customize. In response, the system displays details about a new custom entry form, which you can configure.
-
Click the Screen Fields subtab. Locate the row that represents the Status field, and make one of the following changes:
-
To hide the field from view, clear the box in the Show column.
-
To make the field read-only, change the Display Type field by doing one of the following: To gray out and disable the field, select Disabled. To make the field's current setting display as on-screen text, select Inline Text.
Note:For more details about working with custom forms, see Adding Custom Forms for a Custom Transaction Type.
-
-
To create the form, click Save.
-
-
Configure the role to permit access to the custom form that you created:
-
Open the role for editing by going to Setup > Users/Roles > Manage Roles. Identify the role you want to modify and click Edit or Customize.
-
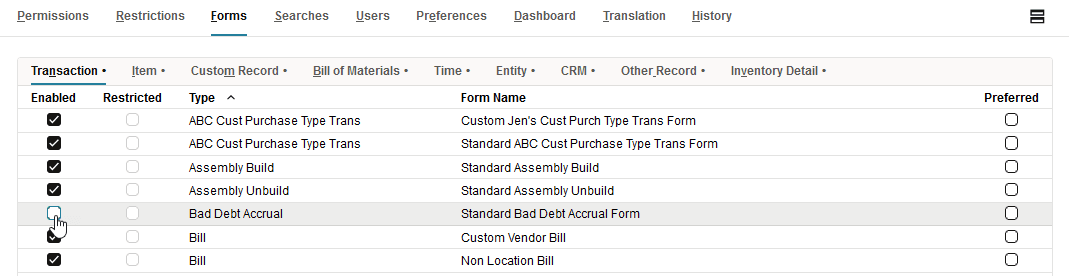
Click the Forms subtab. The system displays a list of transactions that the role has permission to work with. This list includes one row for each of the transaction's available entry forms.
-
To remove the role's ability to use the standard entry form, locate the row that represents the form. Clear the box in the Enabled column.
-
To verify that the role has permission to use the new custom form, locate the row that represents the custom form. Make sure that the box in the Enabled column is checked.
-
Click Save.
 Note:
Note:Before the role can work with any entry form for the transaction type, the role must also have permission to view or use the transaction type. For details, see Permissions for Custom Transaction Instances.
-