Adding the Site Management Tools Image Content Type
When you use Site Management Tools (SMT) to add an image to your site, the image file is uploaded to the file cabinet: Web Site Hosting Files > Live Hosting Files > SSP Applications > NetSuite Inc. - CMS > CMS > [site-number] > files.
To add the SMT image content type:
-
Log into Site Management Tools. For details, see Logging into Site Management Tools.
-
Go to the page where you want to add your image content.
-
Click the Edit Mode icon
 from the site management toolbar.
 -
Click the Add icon
 from the site management toolbar.
 -
Drag the image content from the side panel to the area where you want to place it. You can drag the image content to multiple areas of the page:
-
If you drag onto an area marked all pages, your content shows on any page that contains that area.
-
If you drag onto an area marked page type, your content shows on any page of that type.
-
If you drag onto an area marked this page, your content shows only on that page.
-
-
When you drop the content, the system automatically displays an Open File pop up and lets you browse your computer for the image file. Select the file and click Open. This places your image on the page.
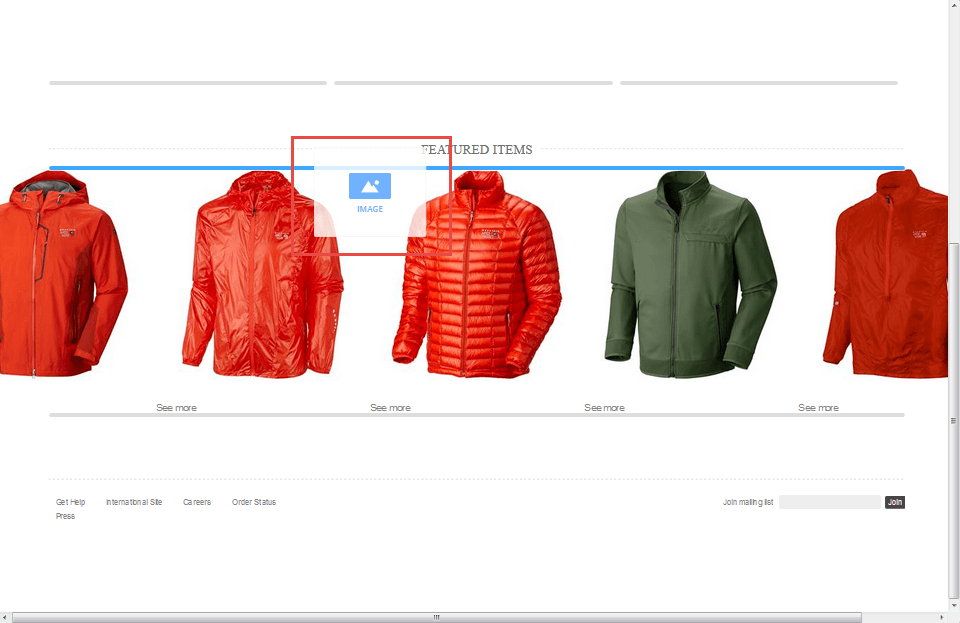
In the following screenshot, content is placed in the first position of an area that already includes text content and merchandising zone content.
-
In the Settings side panel, use the Name field to enter a description of your new content.
-
Set the content visibility options. Choose from Always Visible or Visible on Specific Dates. For details, see View Site as of a Specific Date in Site Management Tools.
-
If you want to link the image to another page on your site or to an external site, enter the URL for the page in the Link field.
-
In the Alternate Text field, enter the alternate text to display when the image doesn't load. Alternate text is also used by screen readers and helps to promote Search Process Optimization (SEO).
-
In the Tags field, enter one or more descriptive tags to help organize and categorize your content. For details, see Content Tags and Filter Tools.
-
Click Save.